How to Create an Indoor Garden Bowl
Creating your own indoor garden bowl — or “dish bowl” as it’s often called in the plant world — is one of our favorite ways to mix a bunch of plants together without it looking too wild. The shape of the bowl adds a touch of elegance and feels far more sophisticated than throwing the same mix into a large pot or floor planter.
We’ve made dozens of these arrangements over the years — some for clients, some for our own homes, and honestly, a few complete disasters that taught us exactly what not to do. But that’s the beauty of it: you get to experiment, play with textures, and bring your creative plant vision to life.
In this step-by-step guide, you’ll learn how to build your own garden bowl like a pro — whether you’re into lush green layers, pops of yellow and orange, or something entirely your own. We’ve got you covered.
Why Make a Garden Bowl? The Beauty & Benefits
Let’s be honest — the main reason to create a garden bowl is simple: they look absolutely stunning.
Whether it’s placed in the center of your dining table, perched on a hallway console, or styled on a boardroom table in an office, a well-designed garden bowl can transform any ordinary surface into a awe inspiring living art. It adds life, depth, and softness to spaces that might otherwise feel cold or clinical.
Think of it as sculptural greenery — a miniature landscape you can design with as much intention as an interior stylist curates a room. You can play with:
- Height and balance using trailing or upright plants
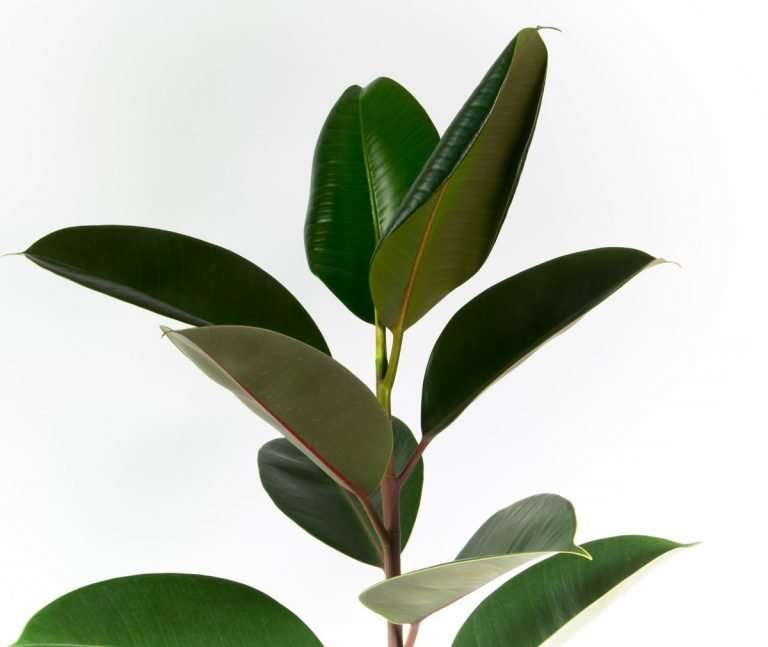
- Tones and contrast (like soft silvery greens with deep forest leaves)
- Seasonal shifts — swap plants for autumnal hues or spring blooms
- Even aromatics, like adding lavender or rosemary, to gently scent the space like a natural air freshener
Unlike single potted plants, a garden bowl offers layered textures and storytelling in one low-maintenance, movable container.
It’s the designer’s secret to elevating flat surfaces — a curated moment of nature indoors that sparks joy every time your enjoying your morning coffee or eveing wine.
Getting Started: The Bowl
First things first – you need a bowl, and here’s something I learned the hard way: get a lightweight one if you can. I once created this gorgeous arrangement in a massive ceramic bowl that looked amazing… until I had to move it. Nearly threw out my back!
We always recommend looking for something low and wide rather than tall and narrow (were not creating a flower arrangement) You want that nice spread where you can see all your plants. And here’s a tip that’ll save you some headaches – try to find one without drainage holes. I know that sounds backwards for plants, but trust me on this one. We keep the plants in their nursery pots anyway (more on that in a minute), and no drainage holes means no water damage on your furniture.
We love to use light weight fiberglass bowls

Don’t overthink the style – You can use everything from fancy ceramic bowls to old wooden salad bowl and baskets. Whatever fits your space and budget, we like to use lightweight ceramic bowels.
Choosing Your Plants (This is Where It Gets Fun)
Over the years, we’ve figured out a simple formula that works almost every time:
- One taller plant for the “wow factor”
- A couple of medium-sized plants to fill things out
- Something trailing to spill over the edges
But here’s the crucial part – and we cannot stress this enough because we’ve seen so many people make this mistake – choose plants that have the same care requirement! Don’t put a cactus next to a peace lily. One wants to be bone dry, the other wants consistent moisture. They’ll both be miserable and so will you if they are!
The Nursery Pot Trick (Trust Us on This One)
This might be the best advice we can give you: leave your plants in their nursery pots.
I know — it might sound lazy, but honestly, it’s genius. Here’s why this one simple trick changed everything for us:
Keeping plants in their original nursery pots makes it easier to manage different watering needs, prevents overwatering, and reduces issues like mould and fungus gnats. It also protects your decorative bowl from water damage.
Even better? If one plant starts looking a bit sad, or you want a fresh look for a new season, you can swap it out in seconds. It’s like restocking your drinks fridge — pull out the empty, pop in a fresh one. No mess, no stress just redress!
I use foam blocks, upside-down pots, even bubble wrap sometimes to get the heights overjust right. Nobody can tell once you add some moss or decorative stones on top
How Much Water Should I Use in My Garden Bowl?
Great question — and it’s an important one! When plants are grouped together in a bowl without drainage, you have to be extra careful not to overwater. Overwatering is one of the most common reasons dish garden plants struggle.
That’s why we’ve put together a handy watering chart to help you know exactly how much water each plant in your bowl might need. You can download it here and use it as a quick reference.
But here’s the golden rule: Always check before you water. Stick your finger into the soil about 2–3cm deep — if it still feels moist, wait another day or two. Overwatering is usually worse than underwatering in these setups.
My Go-To Plant Combinations
After years of working with clients, here are some combinations that we rarely see fail:
For cascading effect: Golden pothos is our absolute favorite. Those bright yellow-green leaves just pop, and it’s nearly impossible to kill.
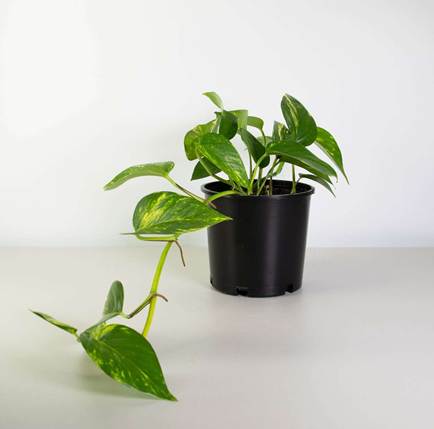
Marble Queen pothos are beautiful too, especially if you’ve got white or cream in your room.

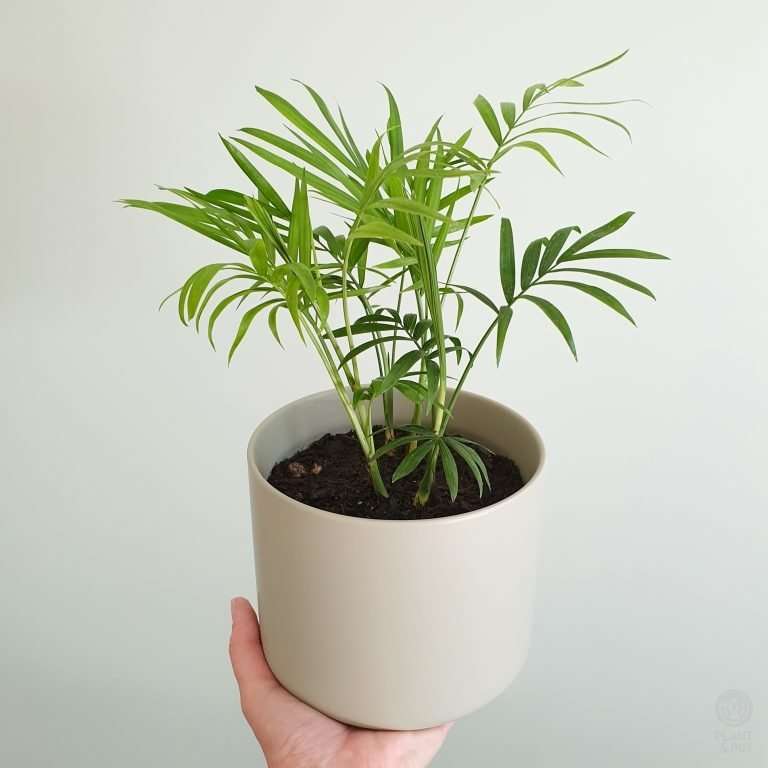
For height and elegance: We love peace lilies because they give you structure AND flowers. If you’re working with a smaller bowl, I always recommend ‘Little Angel ‘ – it stays compact but still has that classic peace lily look. For bigger arrangements, ‘Sweet Pablo’ gives you more height without taking over.

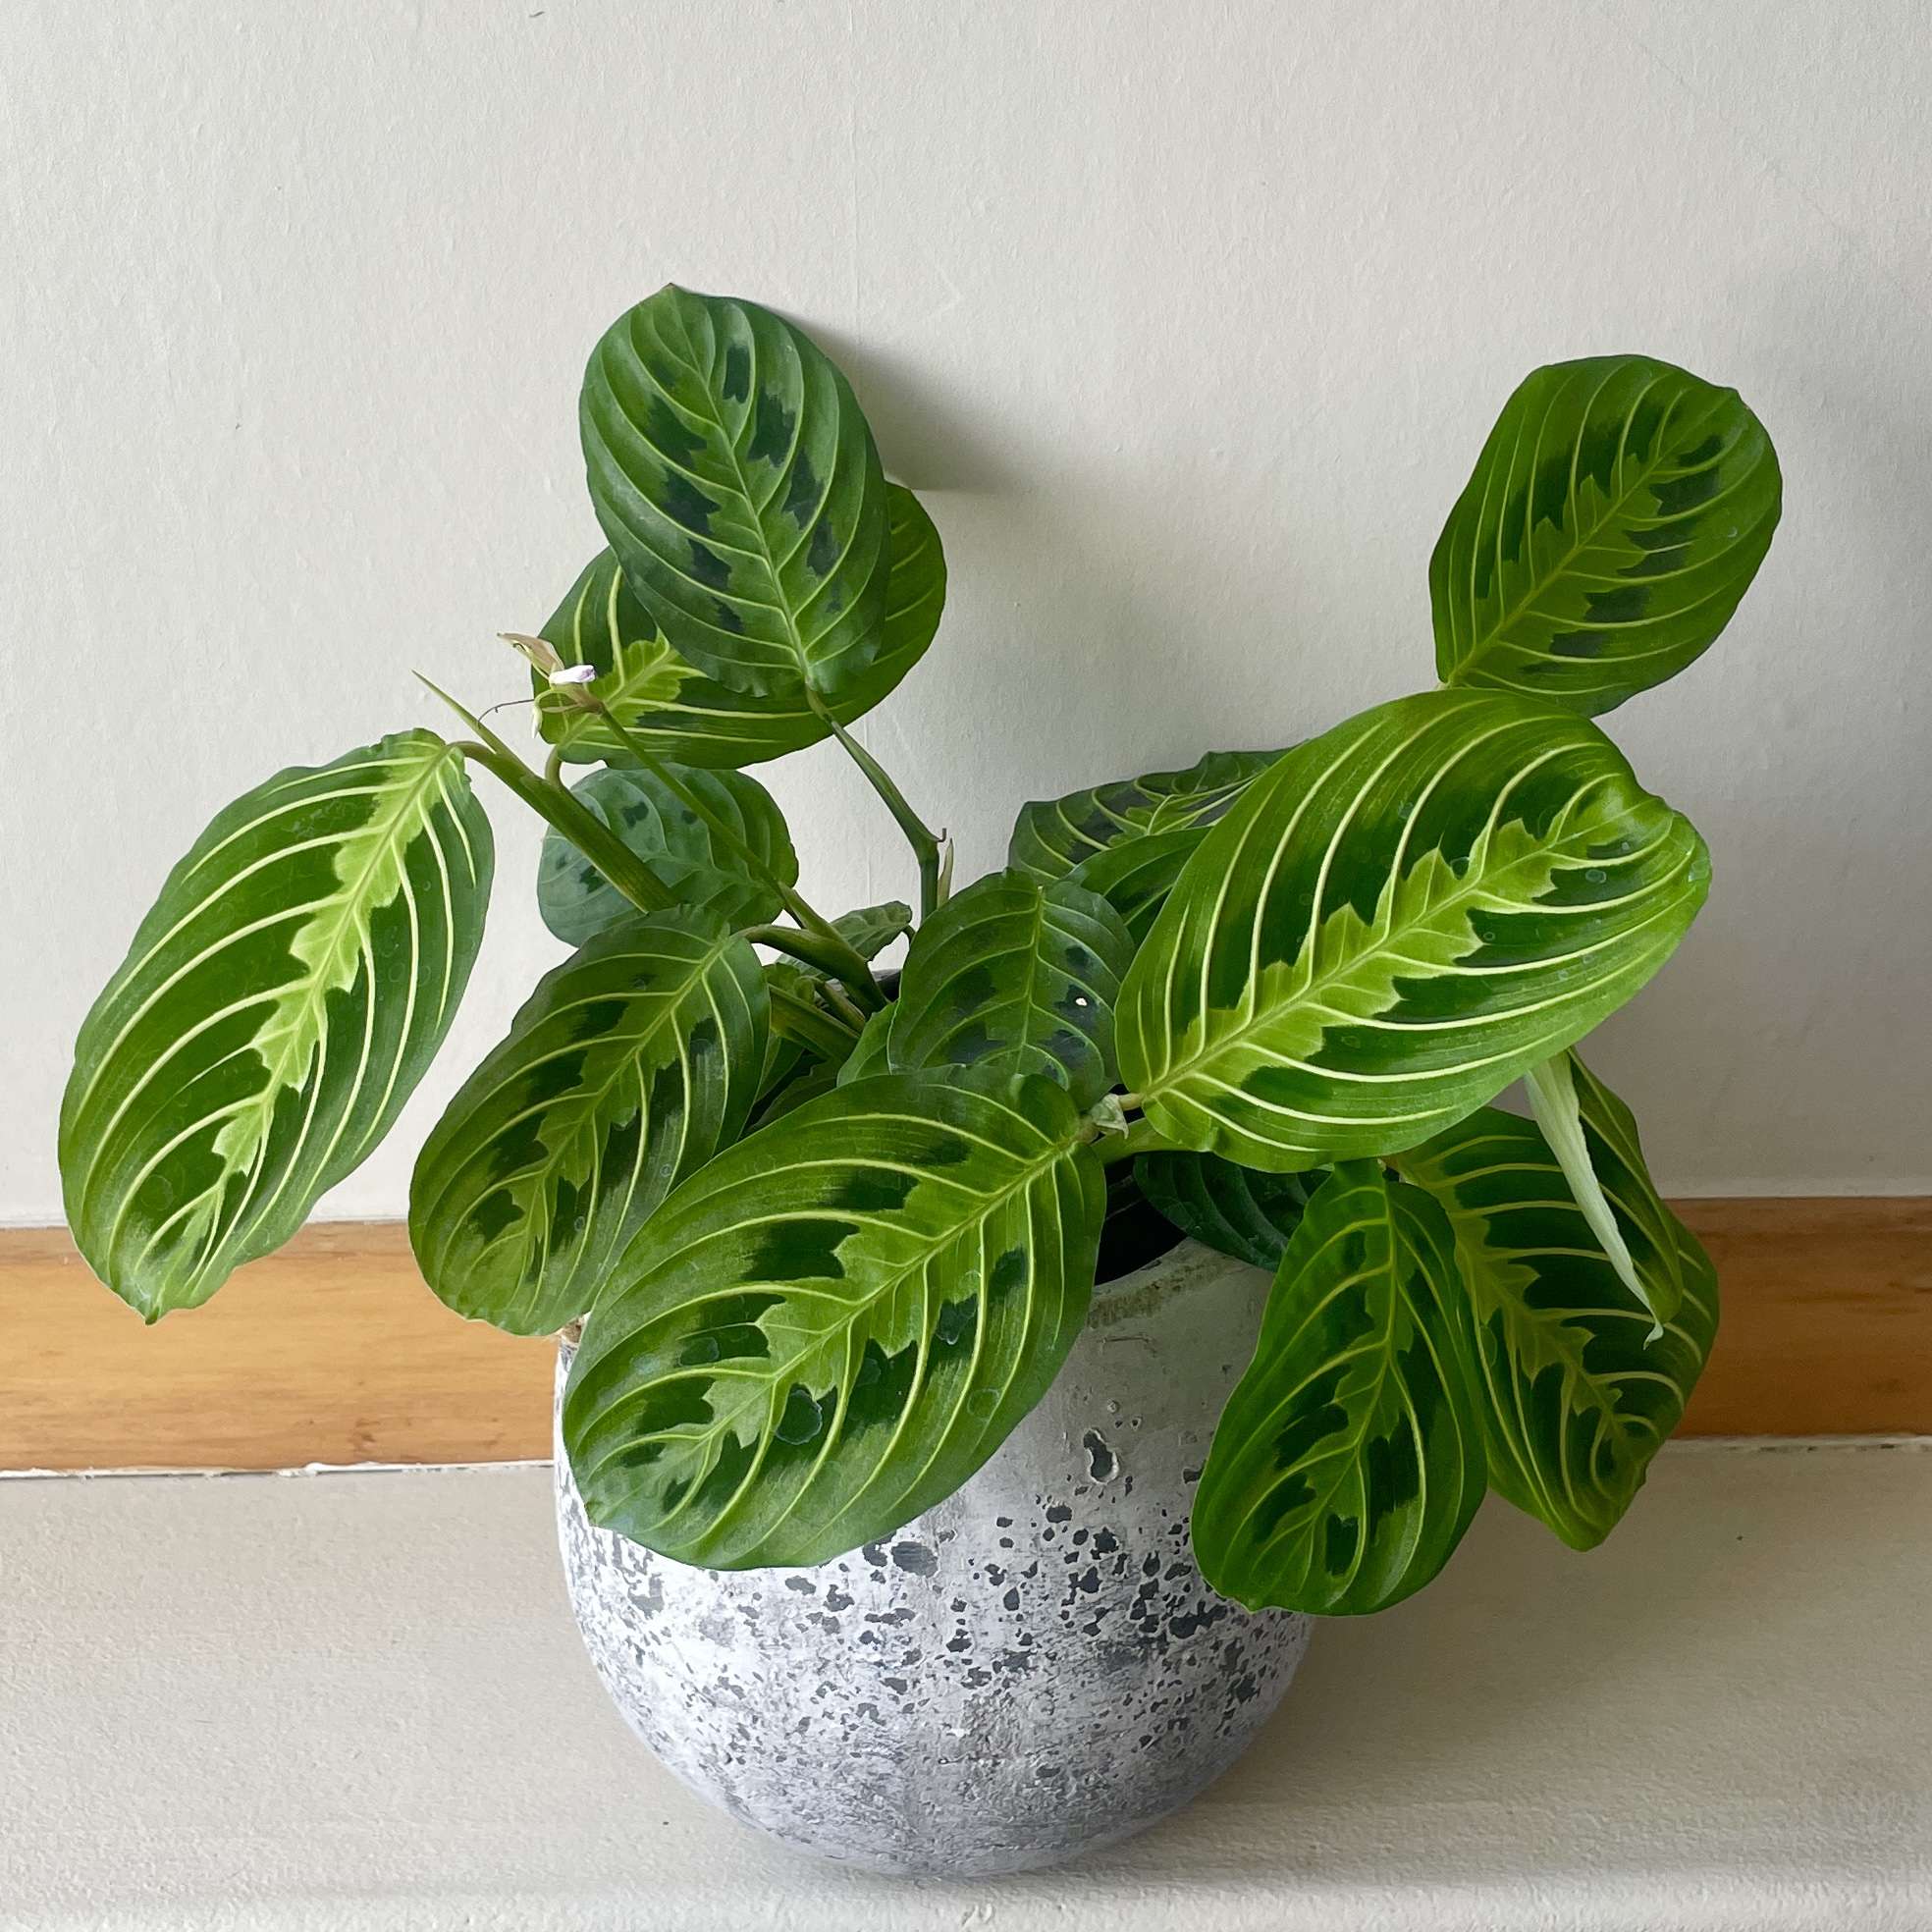
For something different: Prayer plants (Maranta) are fascinating – their leaves actually move throughout the day. Our clients are always amazed by this. And ferns… well, ferns just make everything look like a jungle.
The Finishing Touch
Once your plants are arranged, fill in gaps with some moss or bark chips. You can even add a few decorative stones or even some interesting pieces of driftwood.
Sometimes I put the whole thing on a lazy Susan so I can rotate it easily – plants like to face the light, and this way they all get their sun of soaking up some rays.
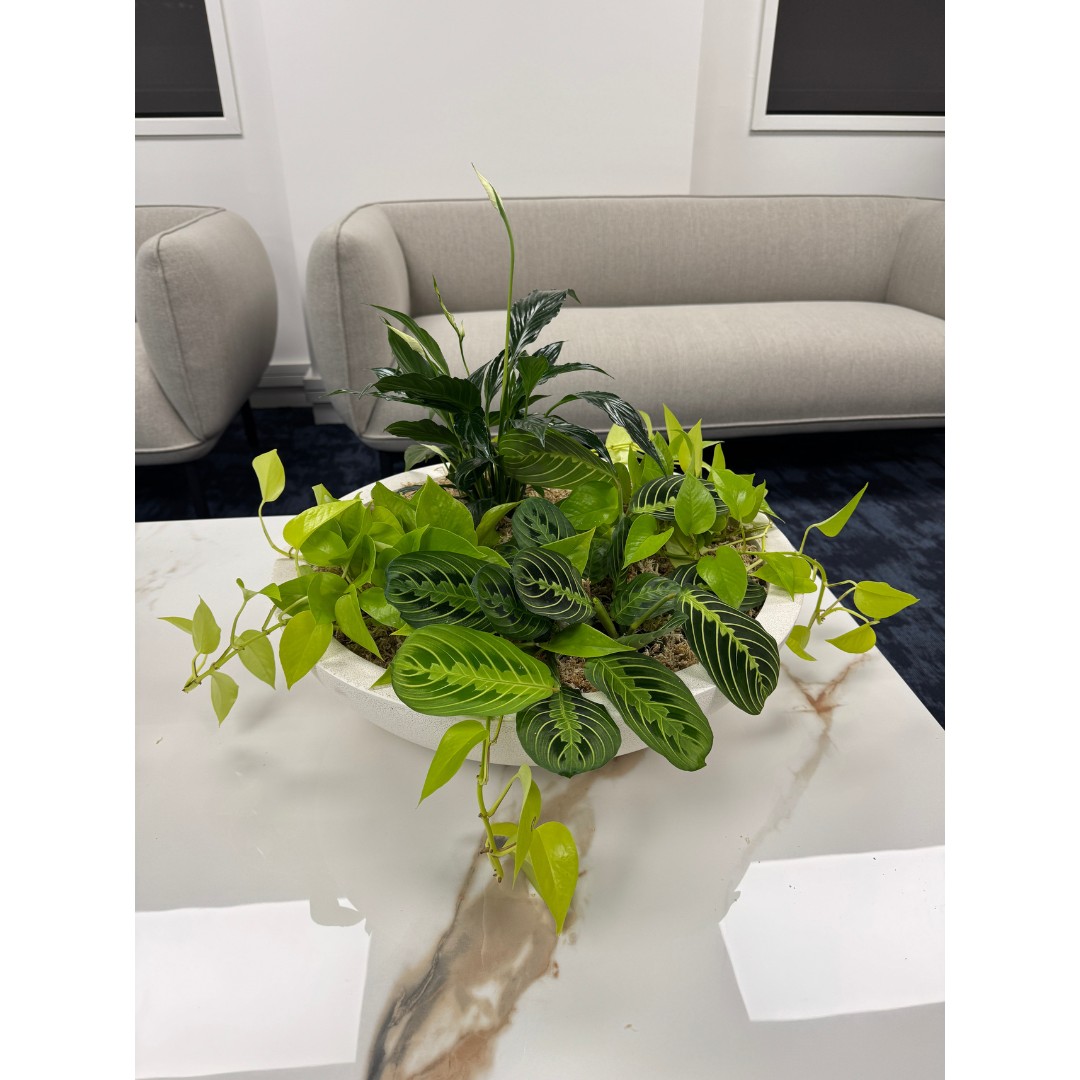
Created with a Peace lily, a Maranta, some Philodendron Neon and Moss in a lightweight fiberglass bowl.
Light and Location
Most of these plants want bright, indirect light. Think of it like they want to see the sky but not get sunburned. On the other hand, too little light will lead to leggy growth or leaf drop. Adjust the placement if you notice stress in the plants.
Final Thoughts
The best part about garden bowls is that there’s no wrong way to do it. I’ve made some that looked like something from a magazine, and others that were just… well, let’s call them “ a practice bowel” But even the wonky ones brought joy and life to the space.
Start simple, see what works in your space, and don’t be afraid to switch things up. That’s half the fun and happy bowl-ing!